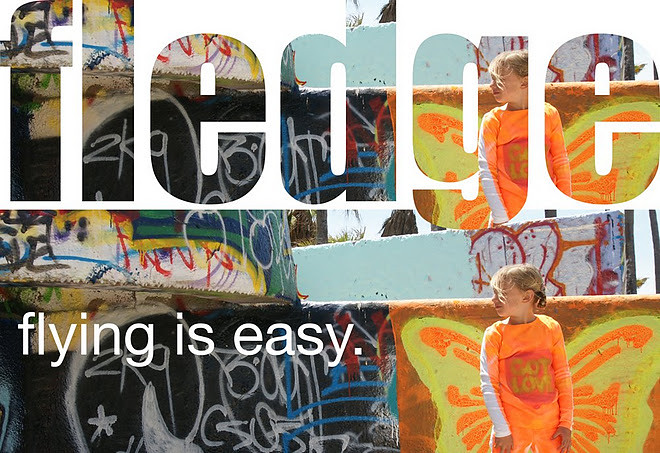
fledge capable of flying, from Middle English flegge, from Old English -flycge; akin to Old High German flucki capable of flying, Old English flEogan to fly -- more at FLY
intransitive verb, of a young bird: to acquire the feathers necessary for flight or independent activity
So, my WANDA Fancy Pants turned out a little bigger than I wanted. I'd like a snugger fit. I had to cinch the material quite a bit over the elastic and the bum looks a bit pouffy for my taste. But the child rearing books all tell me the girl will grow! Next year, they should be just perfect.
I think the pattern runs true to size. My girl just doesn't run true to size. But she does run. And run. And run. And WANDA kept up!
This pattern is not difficult. There is just a good amount of piecing to do. But, really, the department stores have nice clothes, too. But none that compare to some WANDA Fancy Pants! So I think the extra effort is worth it.
Thank you, Ingrid, for such a wonderful design! Nobody mixes Andalusian romance with fun and sparkle the way you do!
FYI: WANDA Fancy Pants from Farbenmix. QUIARA long-sleeve tee from Farbenmix. Rose-colored corduroy from Alexander Henry, I think. Scrounged from Ebay. Velveteen from Hilco. Jersey knit a precious piece of Oilily gifted from the Gummi Bear Junky.
I cut the waistband a bit longer than indicated on the pattern sheet. Cutting shorter is much easier than cutting longer. I finish all edges, press the short ends in about 1/4 inch and press the waistband in half lengthwise. I topstitch at 1/8 inch along the pressed fold.
I remember to add a little bit of fusible interfacing where the buttons or snaps will be attached later on for strength. I begin pinning one long edge of the waistband to the waist edge of the pants. I begin pinning at the underside of the zipper fly.
I stitch that half of the waistband to the trousers, fold up and press the seam into the waistband. I plan to insert a bit of elastic along the back of the waistband. To do so, I pin the other long edge of the waistband only along the back of the trousers. I tuck the edge of the waistband under for a clean finish.
For good measure, I mark at the right and left outseams where the elastic will be stitched in place.
I stitch the lower edge of the waistband, outseam to outseam. Then I stitch a line between the top topstitching line and the line I just stitched to form two casings, marked line to marked line. With the help of a safety pin, I insert the elastic into the two casings. I secure the elastic with pins at one end and stitch to secure the elastic in place in the casings. I trim any excess elastic at this end. At the other end of the casings, I cinch the material over the elastic to the desired fit. I pin the elastic in place and stitch along the marked line to secure the elastic.
I trim the excess elastic. On the left and right sides of the waistband, I tuck under the lower edge, pin and stitch. I also stitch at 1/8 inch the short ends of the waistband.
I'm lazy today and choose snaps for a closure.
That was the waistband! I think bigger girls will appreciate the zipper fly. Looks more grown up. These little ones still need that elastic, though, and that bit across the back helps.
I've also hemmed the WANDA Fancy Pants, laced the ribbons through the grommets and these trousers are complete!
Let's see if Mademoiselle is in the mood for a little modeling later.
Make some darts! No, no skipping the darts at the knees: The darts rock!
I didn't photograph it, however, after stitching along the marked line, the dart needs to be pressed downward topstitched, as well.
Find the marks and stitch on the happy flappies at the seam allowance to the back pant leg lower half. (Have we settled on "happy flappies"?)
Stitch the lower pant leg front halves to the back halves. I've made sure to stitch one font part to the left edge of one back part and on the right on the other pant leg back. And I topstitch with the seam allowance pressed toward the front, so that the flap details look like they are going under the seam.
Now, I stitch the pant leg lower halves to the pant leg upper halves. Can you kinda see why I chose to make a bottom and top pant leg full half? So I could have the front pocket go in the seam allowance at the top? And have the flap details go in the seam allowance the other way down below? No? With these thicker materials, I think it is a good way to go.
And at some point along here I also stitched on the back pockets at 1/8th inch from the pocket edge.
And I stitch the inseams.
I insert one pant leg turned right side out into the other pant leg turned right side in, pin and stitch the crotch seam up the end of the fly extensions.
Moving right along! Kermit likes flies. And so should we. We'll put in another zipper fly.
Ready for the zipper fly? I've asked Murphy to assist me today. Murphy is my Yoda. And remember, Murphy has taught the greatest minds in history, so I'm honored to have him join me today.
Murphy's light saber equivalent:
This is how the zipper fly will stack.
I press the fly extensions A & B back. B will go over the center line a smidgen, about 3 mm.
I stitch E to C. I make sure the tops of the zipper tapes are flush with the edge of C.
If the zipper is placed too far at the top of C, then we'll never be able to get the waistband on. Murphy has been there before, haven't you, Murph?
That's much better. Just like that:
Okay, Murph, let's pin that bit of C outta the way...
....and stitch zipper tape D to fly extension A.
Let's turn all of this to the right side, pin strategically and mark the topstitching line.
I'm ending this topstitching line in bar tack. I will also tack at the base a bit of fly extension A to C, just to keep that all in place.


 So, my WANDA Fancy Pants turned out a little bigger than I wanted. I'd like a snugger fit. I had to cinch the material quite a bit over the elastic and the bum looks a bit pouffy for my taste. But the child rearing books all tell me the girl will grow! Next year, they should be just perfect.


